 So I missed a couple of shots to show gluing the sides onto the base. But just lay the base on its side and line up one side and glue. Be sure to have the sides facing the right direction before you glue.
Once dried, add the other side and hold in place with some clamps. Measure the distance between your sides and cut some supports to glue in place.
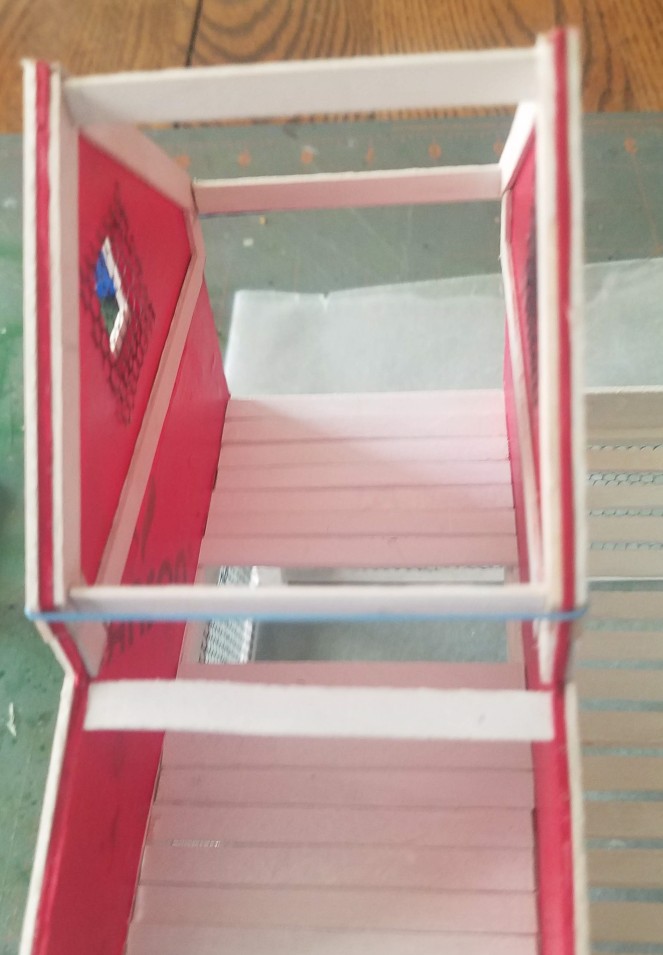
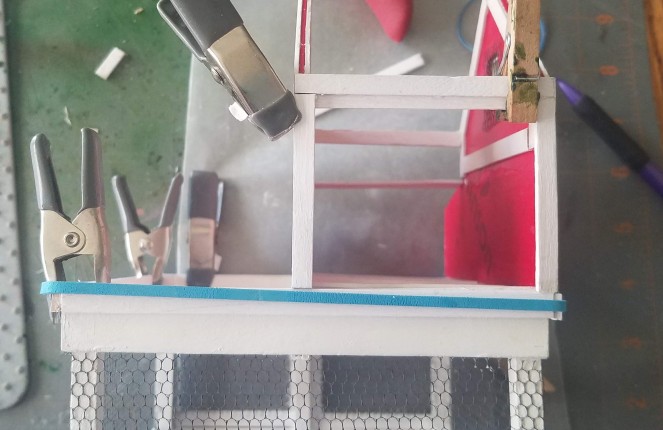
Frame around the upper edge of the base with four pieces of skinny sticks to go around.


Clamp and dry. I had also added and glued in the floor slats for both sides. Be sure to do that after you add the trim…easier to clamp without them in place.
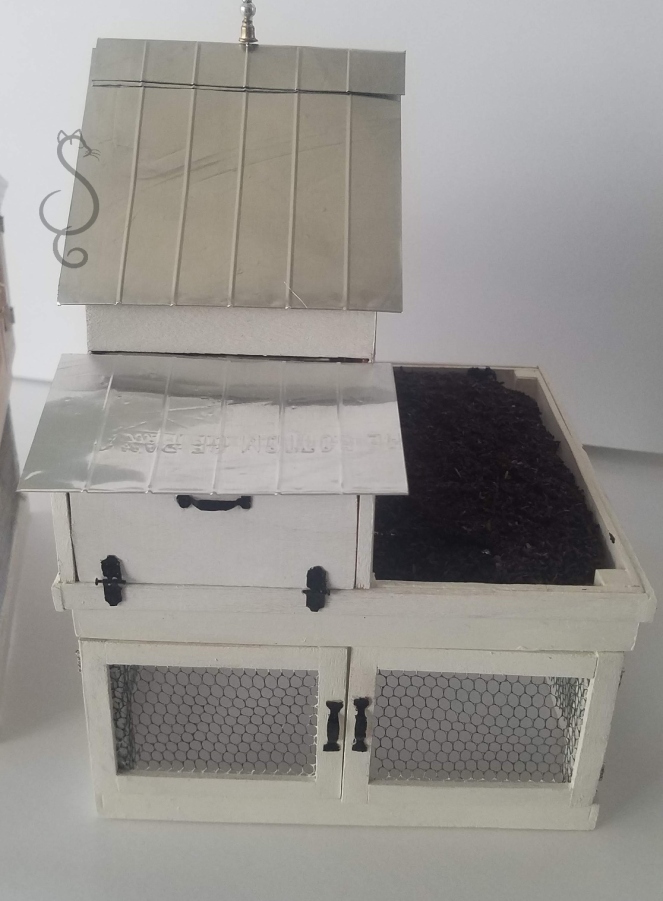
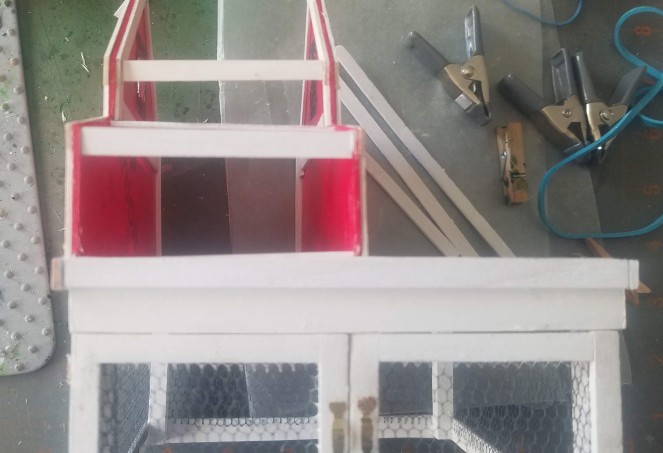
Next we will work on the frames for the upper doors. Let’s start with the smaller pull down door.
Add trim around the frame and glue into place. I split the skinny stick in half for the framing.

Measure and cut a large tongue depressor wood stick for you door.


Paint the door your color of choice and set aside to dry.
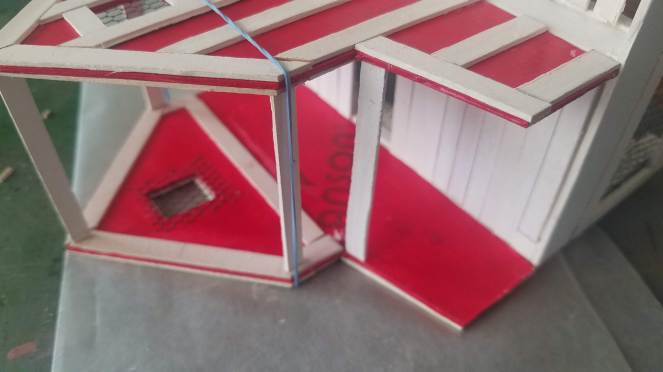
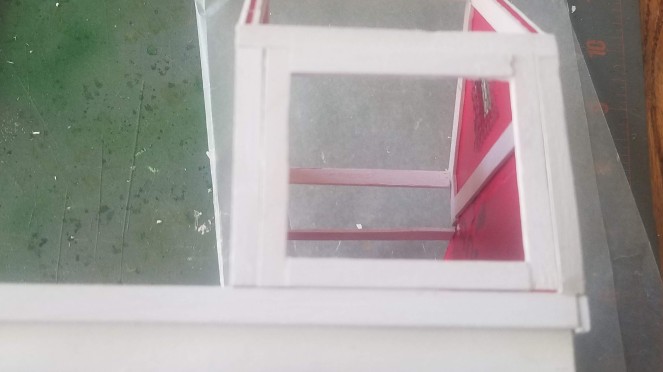
The space between the smaller roof and the upper roof will also need a piece of wood cut to fit. I used a tongue depressor wood stick to fit this opening. Measure, cut and paint set aside to dry.

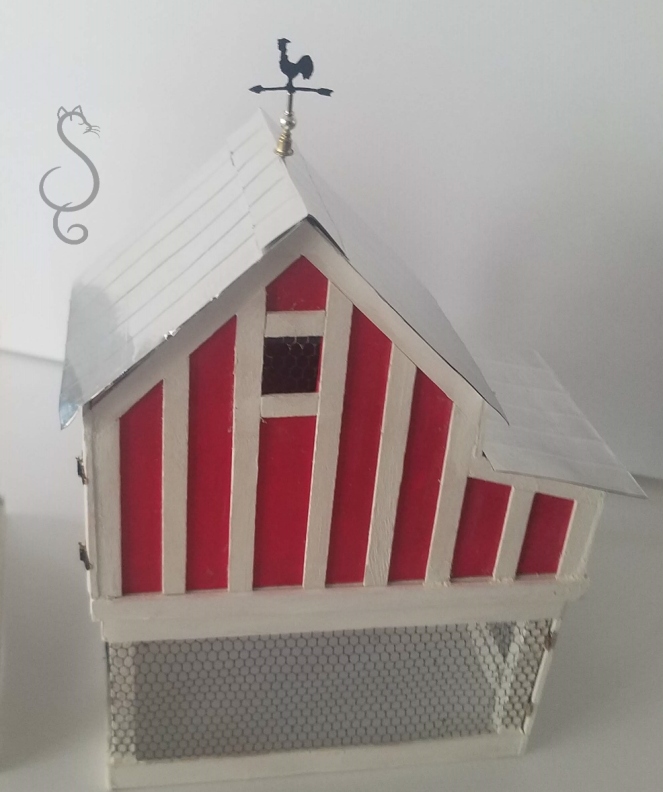
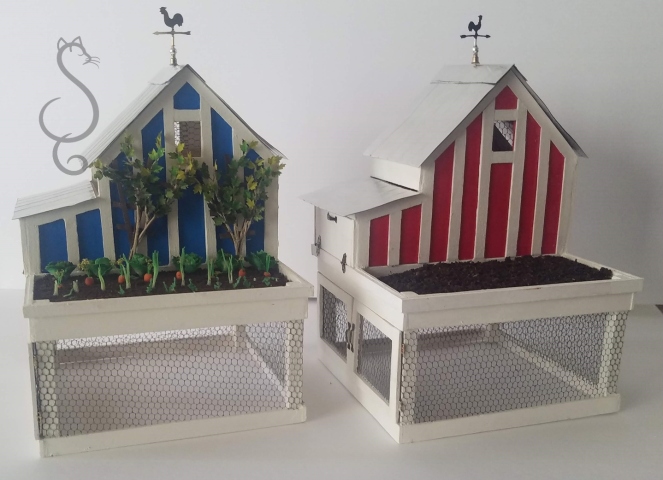
Next is to frame out the larger door. On my blue and white coop I made two doors, however for this red and white coop I decided to go with one door. Less hinges to glue..lol.
Framed using the skinny sticks painted white.
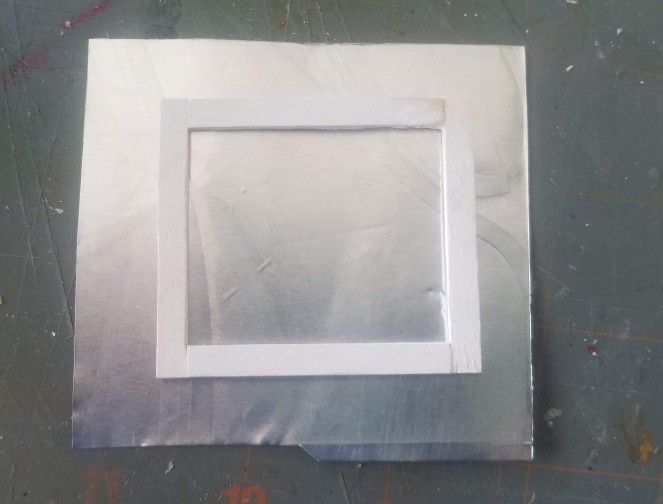
Next make the frame for the punch tin door to fit your opening. Used the skinny sticks for this frame.
Measure out some heavy duty tin foil for your tin punch insert. I used disposable foil pans for my heavy duty foil.
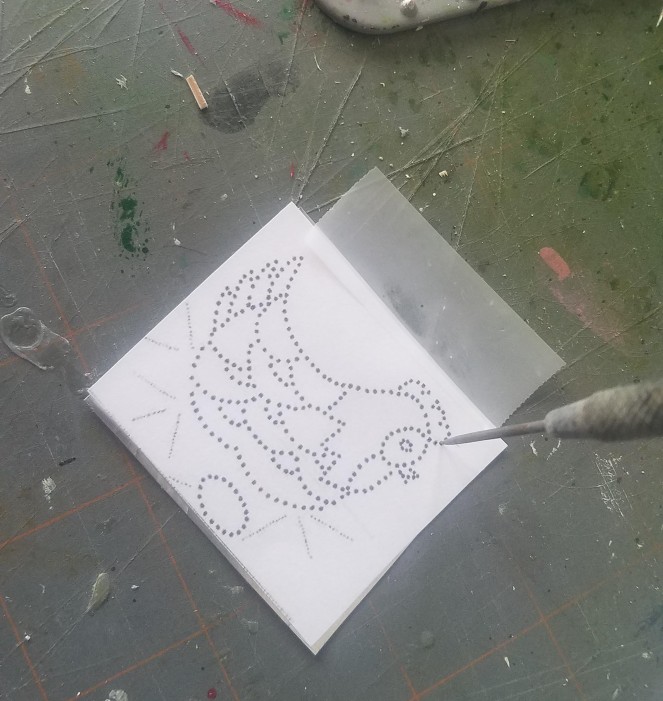
Tape down your pattern over the foil and use a needle tool to punch the design.
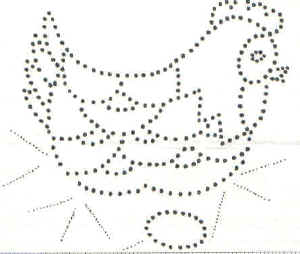
Glue the punched foil into the door frame.
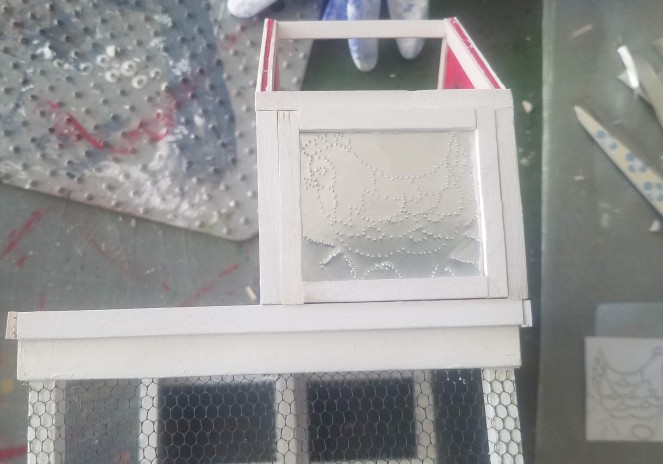
Add all the hinges and door handles.
We’re on the home stretch. The roof.
I used heavy duty foil from a disposable baking pan for the roof. I cut out the bottom of the pan and then rub out the wrinkles with a piece of wood. Be careful the foil can be very sharp. Here’s link to the wash tub tutorial for pictures of getting the foil ready.
Miniature Standing Galvanized Wash Tub Tutorial
Once I have my foil ready, I fold it in half and cut out the roof pieces as pictured below.
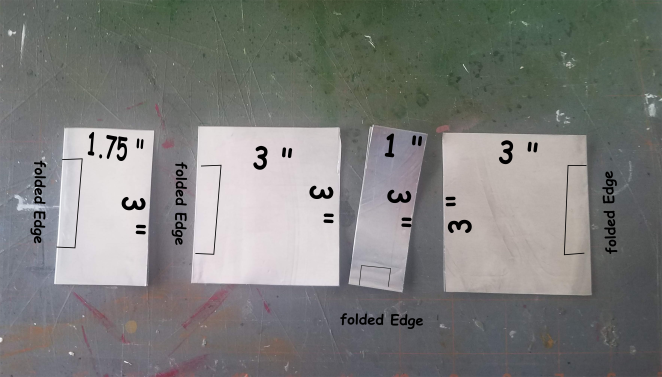
Add the scoring to look like tin roof. I used my Martha Stewart embossing tool, however if you don’t have one of them, you can line up some Popsicle sticks on some double sided tape like below.
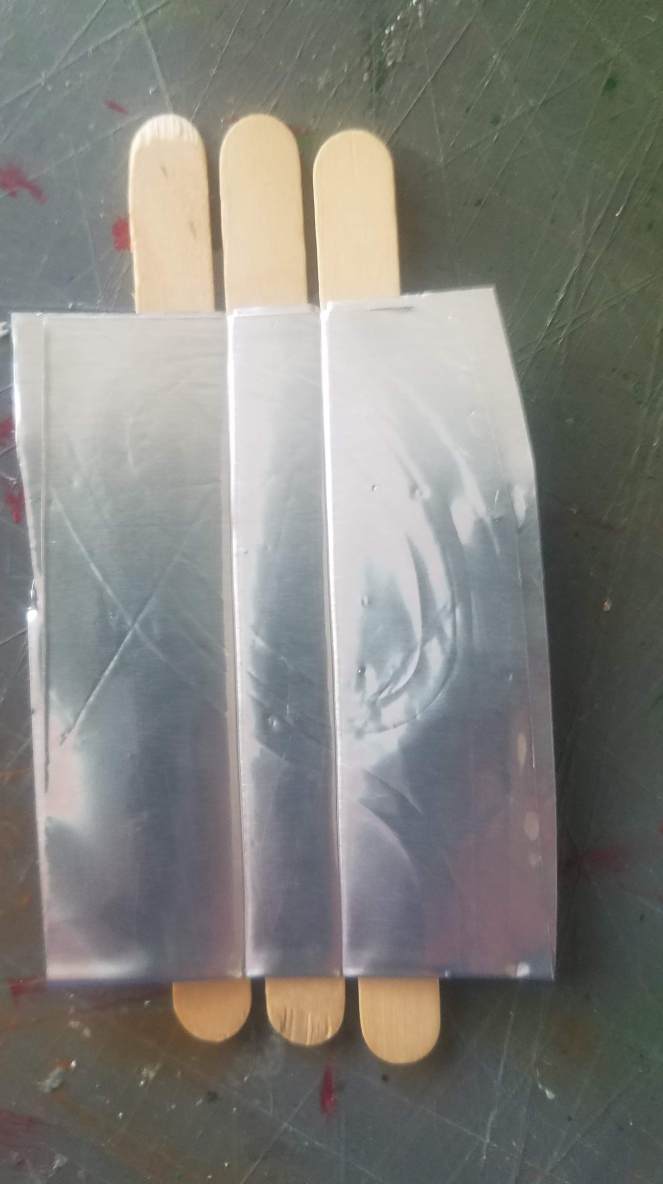
Add lines going towards the folded edge every half of an inch. Except for the 1″ by 3″ piece and the embossed lines run across opposite of the folded edge. I added some adhesive in between the layers to keep them together.
I assembled the roof by using some adhesive tape so that I can remove it whenever I may wish. The 1″ by 3″ strip gets folded length wise to cover the apex of the roof.

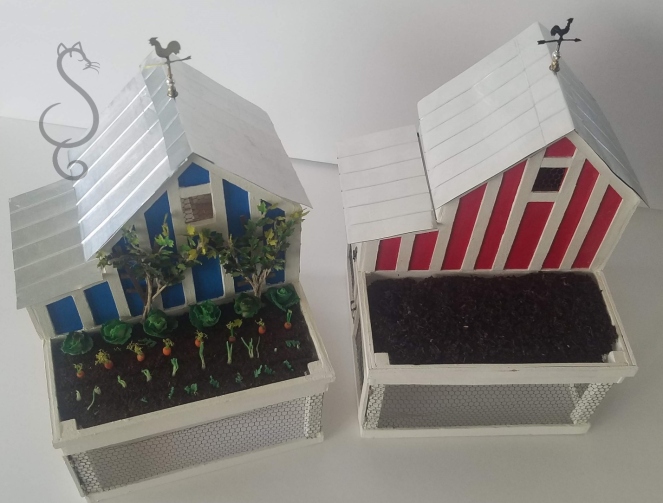
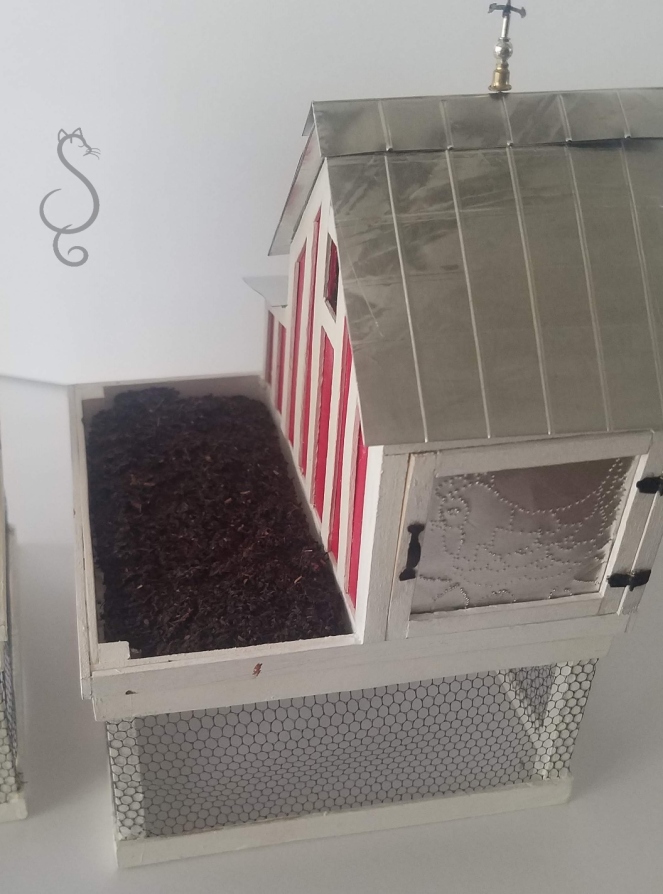
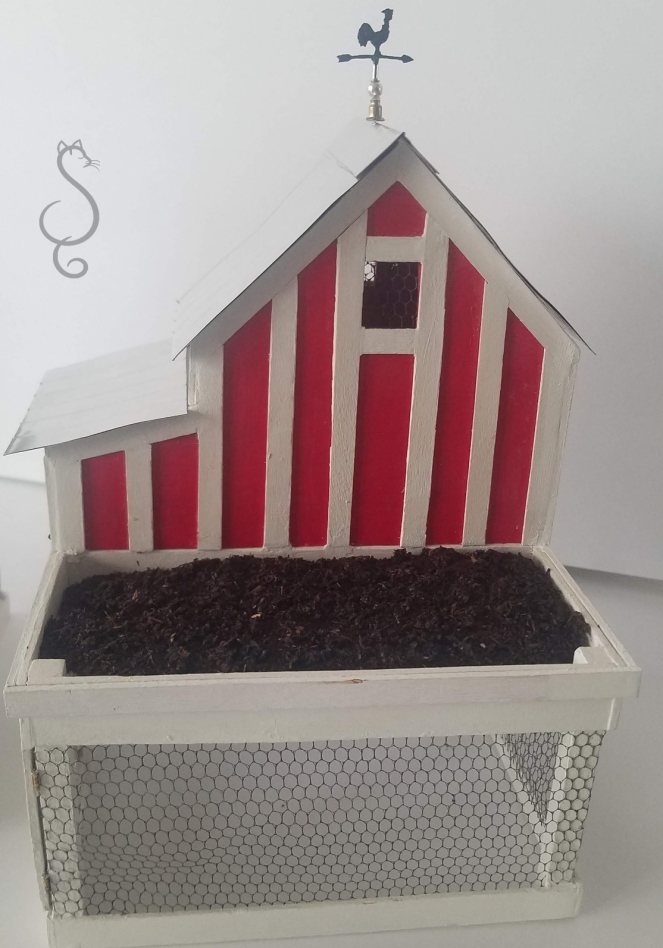
The weather vane is just an assembly of jewelry parts to top off the roof. The ground or bedding is Styrofoam painted and dirt glued to the surface. Ready to add some plants. I am thinking some tall sunflowers would look nice.
I ended up painting my hinges and handles black as I thought they would look better.
I hope you had some fun and that your little chickens didn’t run off waiting on their coop to be finished.
Stay safe!