Sorry for the long long pause. With my tiger getting lost on it’s way to its new home and this whole pandemic scenario, I have just not been able to get my creative self working. I have another little kitty which is in limbo land on its way to France. Not sure if it will every get there.
I hope everyone is well and trying to enjoy their home time.
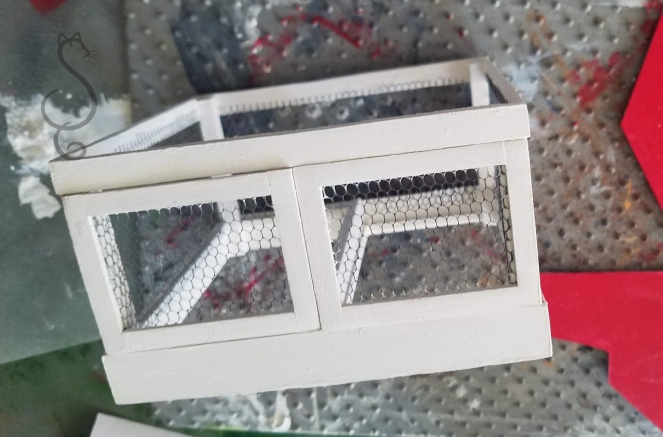
Let resume with the little coop. We left off with the base and doors frames being done. Next step is to paint all the wood a color of your choice. I went with white.
Make sure and dry fit the door again. Paint can cause some swelling and they might need some sleight sanding to fit.
Next add/glue the rest of the chicken wire netting around the three remaining corners and trim to fit. Leaving just a little of the netting to pull inside to glue. Don’t want those chicken finding any holes to escape through.


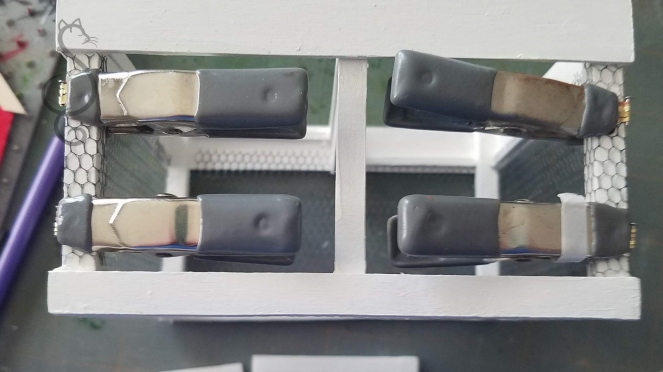
Add you door handles and hinges. Got to say the hinges are such tricky little buggers to get glue into place. Be sure to hold in place until the glue grabs tight. No looking or touching or you will be doing it over. Lesson learned. Not really! I always get impatient and touch. Here is a link to my little journey with making my own hinges and weather vane with etching. Metal Etching
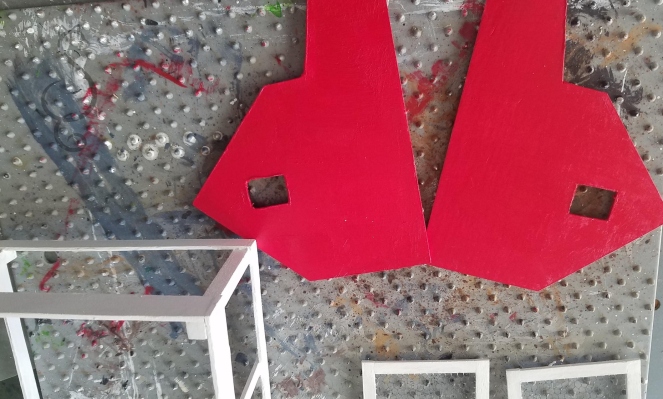
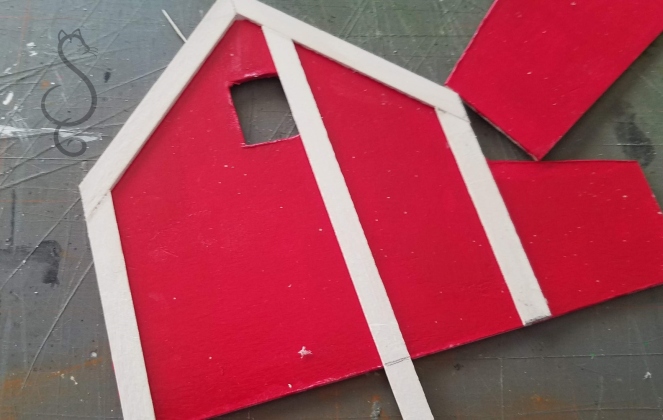
Onto the sides of the upper coop. Here is the template to cut two pieces. I used mat board for mine. You will need approximately two 4″ by 5″ pieces. The template has a one inch square for size reference.

Paint away in your color choice. I went with red this time. Both sides.
Add some chicken wire netting to inside of your little windows.
Trim is what is next on the list. I painted mine before I cut it to save some brush time. I grabbed some disposable gloves and placed a dollop of paint in my palm and just ran the wood skinny sticks through my hands to cover it with paint. You are going to need a few of these for trim work. I covered ten to start with.

The above sketch give you a reference for the cuts. Double check as you go , as there may be some slight adjustments needed to fit the trim since we aren’t machines and are to have some small variances to the cuts.
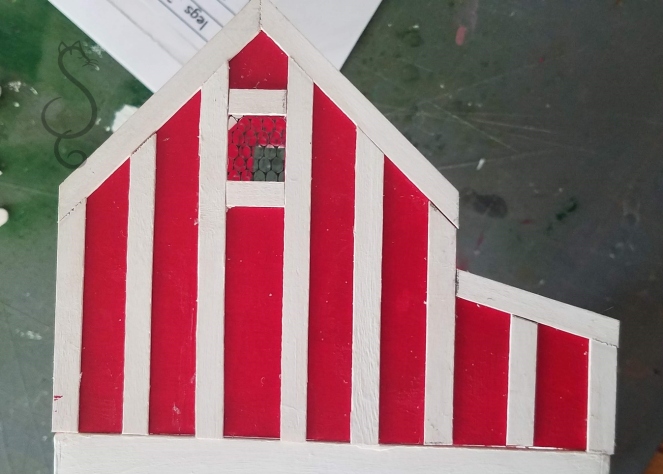 Do both sides of you coop and match opposite sides like matching up for sewing a pattern. You don’t want to do both of the same sides .
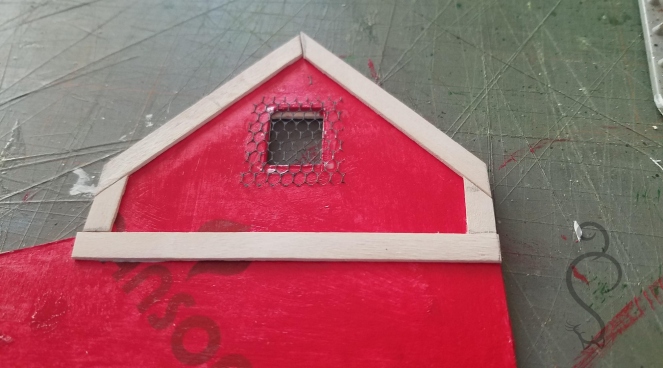
Next add some trim work on the inside of the coop sides like pictured below.

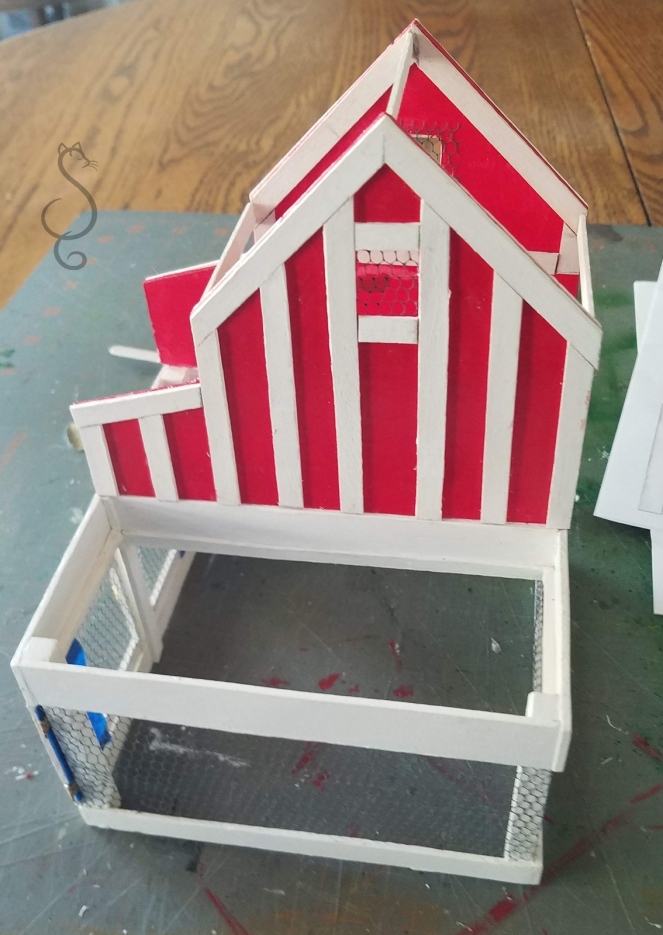
Next we will glue the sides to the lower coop. That will be in the next posting.
See you in the next posting. 🙂
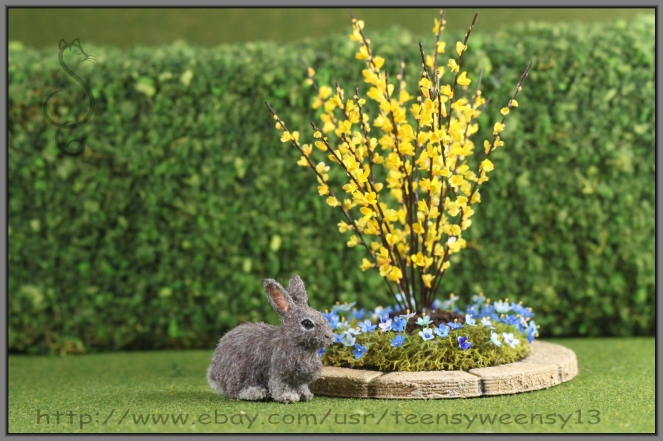
Here’s a little spring bunny to brighten your day!