

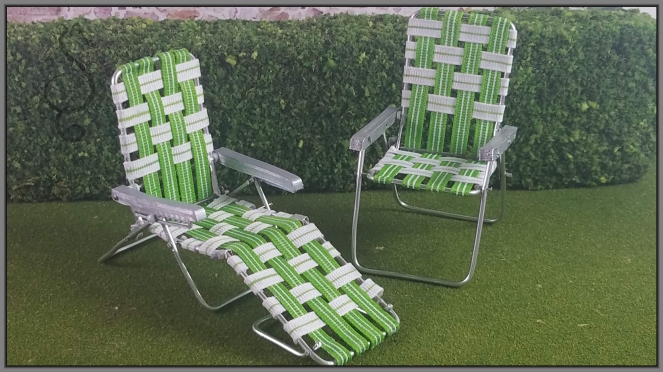
This little tut has been long in the making…I have a pile of little lawn chairs to prove it. LOL.

This tutorial is only for the folding chair. The lounge style may come some time in the future or not. We will see how things go along.
Step one: Cut 4 pcs of 12 gauge aluminium wire approximately 6-7″ long and straighten them as much as possible.


Down load the template page and be sure to check that the squares are one inch squares.


Bend each wire matching the template as close as possible. Also cut a 3″ piece of music wire approximately 1mm diameter. You will need a drill bit the same size or bigger to match the drill bit.

Flatten and try to have as straight as possible. Next mark the drill holes with a sharpie and drill the holes. The drill holes at the ends of the back and front legs are really close to the ends..approximately 2 mm from the ends. After drilling the holes, trim to match the lengths on the template.
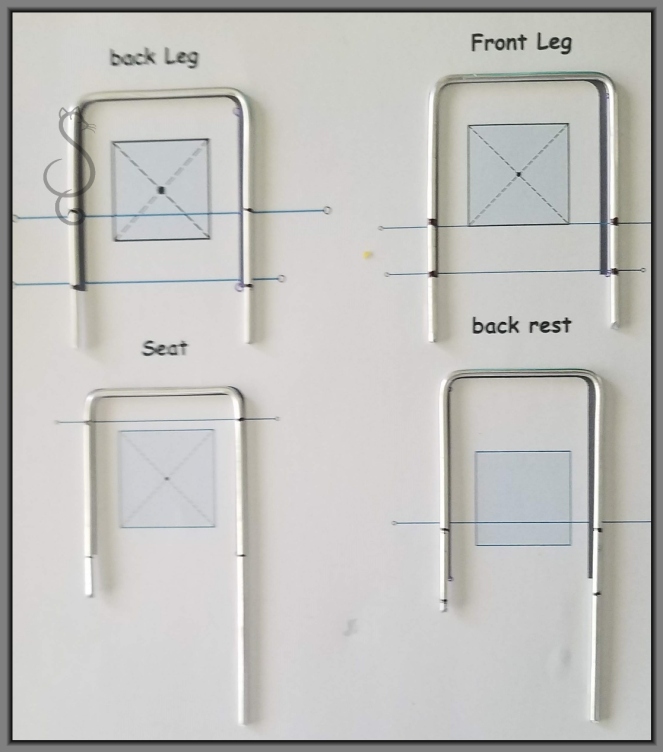
Don’t drill the holes for the seat and back rest at the ends of the wire. We will get to those a little later.

Go ahead and trim the lengths of the seat and back rest to match the template once you have drill the holes drilled for the seat and armrest positions. File the ends smooth.
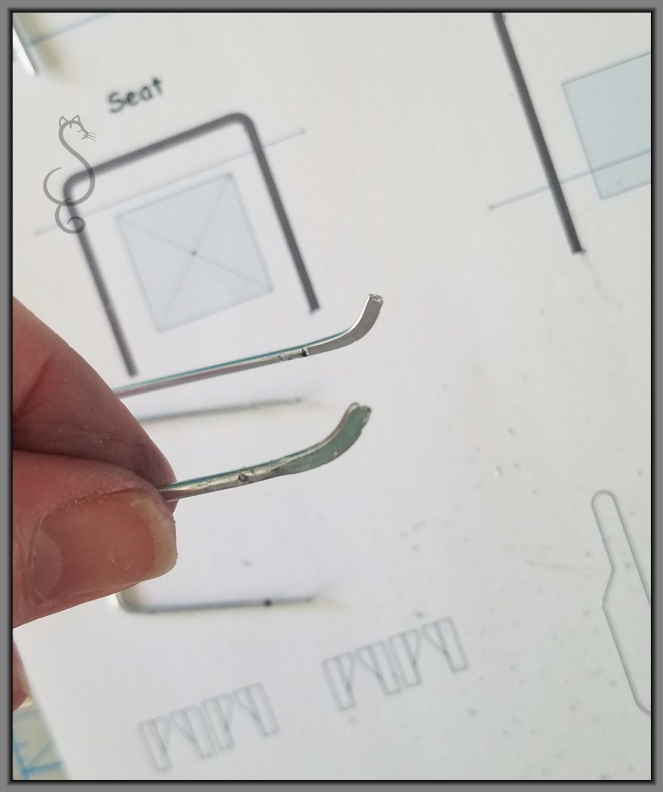
Next bend the ends of the back rest towards the front.

Flatten the ends of the seat and back rest . Bench vise works for this. The back rest flatten the ends approximately 1/2 inch of the ends. The seat flatten 3/8th of the ends.

The armrests are 3d printed Armrest file. Happy printing. If you don’t want to print the armrest you can add wood ones using the outline on the template file.
Drill holes for the armrest as pictured.

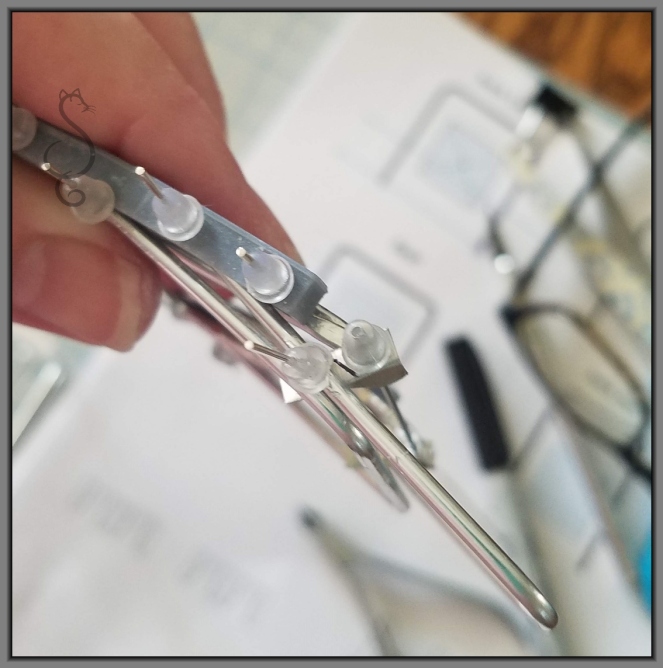
After drill the armrest holes assemble the legs to the armrest using some head pins. I used the soft pierced earring backs to help stop the pins from falling out as I assembled. We will need to unassemble and assemble several times, so don’t cut or permanently place the head pins.

This is the front legs assembled. I miss the back legs picture somehow. Attach the back rest at the armrest and the front seat to the front legs. Face the head pins from the inside otherwise they will interfere with the test folding of the chair.

Here’s where we are with the front, back legs, seat and back rest assembled. 

You want the back rest ends to be to the inside of the seat ends. Mark where the ends over lap for drilling. Be sure that you mark and drill very straight through. If you drill a little off it will cause the chair to bind and not fold or sit straight.

Thread the length of piano wire through the ends you just drilled. We getting there. Almost done with the frame. If you have extra length of the wire where the back rest and seat meet, after drilling , just even them up by cutting off the excess.
There are brackets at the bottom of the temple. Cut two out and paste onto a piece of flashing metal and drill the top two holes. Cut out the brackets and remove the paper template.


Bend the tabs almost 90 degrees as above. These little brackets help the chair from over extension at the pivot point of the seat and back rest. Be sure to mirror the bends for each side. Place onto the music wire with the tabs pointing towards the center of the chair.

Once you have both of them on…be sure to use the little soft earring backs to help them from falling off on you.

Mark the other end of the bracket where the drill hole is on the back leg and drill the holes.
Add the head pins to the bracket and test close your chair.
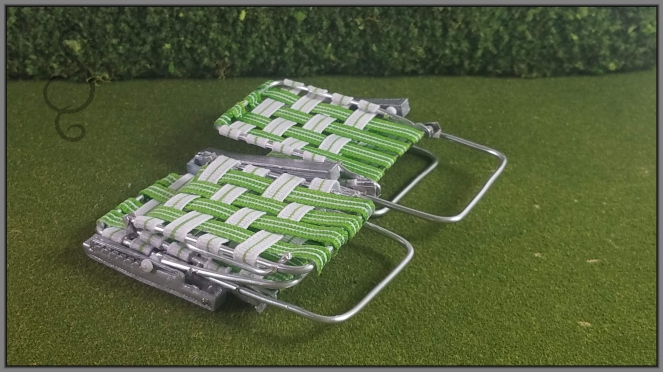
Hopefully all will lay flat. If the chair won’t lay flat, test remove pins one at a time to see where the problem is. Usually it is a drill hole that doesn’t line up with the other side evenly. If you have this problem, you may need to make another piece to replace the uneven one.

Next part will be adding the webbing and finishing off the chair.
Dollhouse Miniature Folding Lawn Chair Tutorial Part Two

Tip Jar
Happy with the tutorials that I have posted and you wish to send me a little tip , here is the spot do do that.
$1.00


Wow! This is awesome, thank you so much.
Julie Mayo Artist
082 8718891
http://www.juliemayo.co.za/
LikeLike
THank you Julie! 🙂
LikeLike
Hi love the lawn chair! How do I know where to drill the holes for the armrest the 3-D printed one?
LikeLike
Thank you! I have updated the template. 🙂
LikeLike
Thank you! This sure is not easy working with aluminum! What do u use to drill the holes, I’m using a had drill but yikes! Lol
LikeLike
I know..it is a real challenge to drill the holes. I use a dremel tool and can’t tell you how hard it is to not have it bounce to the side while drilling. One tip is to use a smaller bit first and then widen with a larger size bit. Hope to see a picture of your finished lawn chair. 🙂
LikeLike
Thank you so much! Doing it by hand is almost impossible. I might have to start over. I will definitely send a pic! I give you so much credit for doing this!! Your very talented! 😊 thanks again for your help!
LikeLike
Happy to. :)Sent from my T-Mobile 4G LTE Device
LikeLike
Where can I find the download page for this?
LikeLike
Rt Click on Pictures to download 🙂
LikeLike
If you have access to cut a 3×3 piece of wood into a 1.5″ thick block you can make a channeled block that will secure the wire in place for drilling the holes. I carved a groove (same thickness of the wire) deep enough for the wire to rest secure along three sides of a 3x3x1.5″ wooden block. After the wires are bent to match the template you can slide the pieces into the channels until it rests into the top grove and lay the block flat on the table for drilling your holes.
LikeLike
Thank you for the great idea!
LikeLike
Hello I am the editor for American Miniaturist magazine. I would love to share this amazing tutorial in an upcoming issue. Please email me at auralea@ashdown.co.uk for more info! Thanks so much. Auralea
LikeLike
Sent an email as requested
LikeLike
Hi I am the editor for American Miniaturist. Would you be interested in becoming a tutorial contributor and sharing some of your amazing step by steps? Please let me know. auralea@ashdown.co.uk
LikeLike
how does one download the templates?
LikeLike
right click on image and the option to download will appear
LikeLike
Me again, Just got back from Michael’s going to practice drilling. My question to you is what are the squares for in the middle of the template? I have read over your instructions several times and unless I’m nodding off I have not seen what to do with it.
LikeLike
The one inch squares are for you to be sure that when you print the template the size is correct. Measure the squares on your print and if they measure one inch, you are all set to use. If they measure less or more than one inch, then size up or down accordingly. Happy crafting!
LikeLike