
All my little fur babies need an occasional bottle feeding and so here is a simple tutorial to make a cute little bottle.
Supplies needed:
- Bic Pen
- clear acetate
- glue (I used gorilla glue)
- exacto knife
- white gel food color
- sculpey mold maker and red marker
- card stock paper for trimming
- sand paper
Take apart the bic pen. We will be using the clear part of the pen.
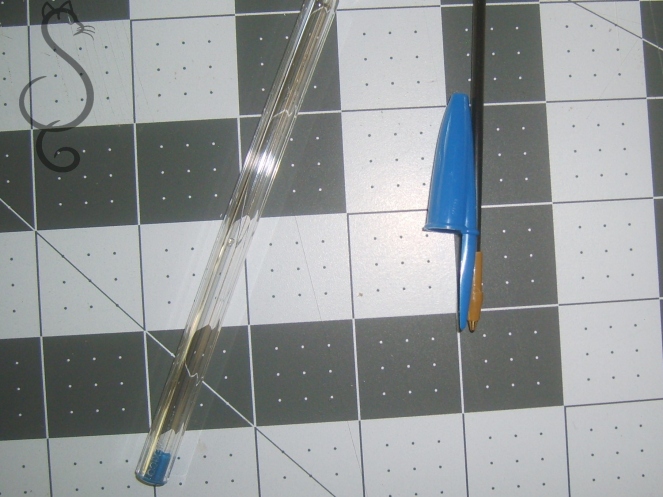
Cut a section of the pen approximately 3/4″. Be sure to use a portion of the pen that doesn’t have any holes or logo.

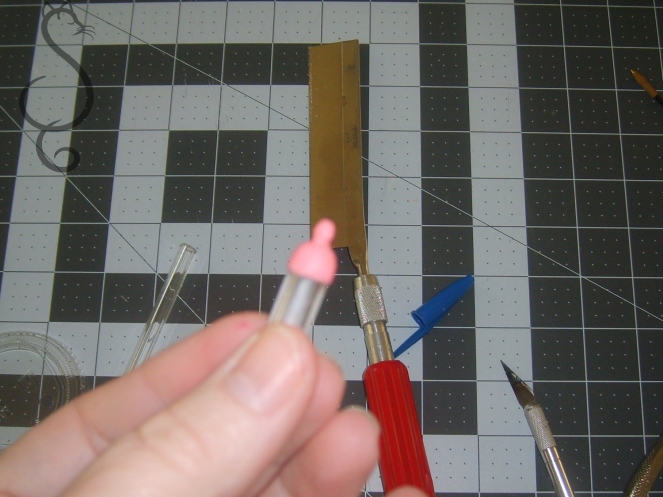
I used my exacto knife. Sand to even out your edges.

Cut a circle out of the clear acetate that will fit onto the bottom of the clear tube. Glue in place at the bottom of the clear tube.

Take a small portion of the sculpey mold maker and touch the clay with a red marker. Blend together. The red marker will tint the sculpey mold maker pink. I use the sclupey mold maker clay because it will cure soft and rubbery. Shape your bottle nipple top.

Make sure you make the inside of the nipple concave. Cure per the instructions.
Mix up a solution of water with a tiny bit of the white gel food coloring and fill your bottle. Not all the way…about half way.
Glue the bottle top nipple to the top of the bottle.


Cut paper stock to make trimming for the top and bottom in your color choice and glue to the bottom and top edges. This hides the glue connections.
Ta da…little bottle for your babies.


Love your babies.:)
LikeLike
TY! So sweet ! 🙂
LikeLike
This is where I spend my lunch break!
Always puts me in a better frame of mind. Thank You
LikeLike
You’re absolutely welcome. Makes my day too. I needed this…I just found out that all the pictures I took of the typewriter tut are damaged…tears of frustation….I have to redo them all.
LikeLike
Oh No! I can’t imagine how much time and effort goes into that, but please know how much I appreciate all your hard work.
LikeLike
TY! Sorry to whine…it was just so frustrating. On my way out of the set back. 🙂
LikeLike
BEEN THERE. Just ” walk toward the light”. 🙂
LikeLike
walking …..:)
LikeLike